Protocol 2
More in-depth and feature-focused protocol. This protocol typically takes between 20-25 minutes.
- Aim 1: Determine higher resolution features of the cell’s receptive field by using smaller flashes.
- Aim 2: Determine whether the cell displays directionally selective responses to bar sweeps in 16 directions.
Overview:
- Custom script design, not run through the
G4_experiment_conductorGUI. - Opens a pop-up at the beginning that asks the user to fill in the
peak_framefrom P1 and the side of the arena used for P1. - This
peak_framevalue is then used to generate a protocol with the stimuli centred on the centre of the flash that elicited the greatest response in P1. - These stimuli are presented within a 30 x 30 pixel area. The rest of the arena is set to the background intensity value.
- Only presents either dark or light stimuli.
At the end of the protocol, the peak_frame value that generates the protocol at the same location with the inverse contrast is returned as text in the command window so that the protocol can be run twice, once for each contrast if desired.
Data Location:
P2 is made de novo every time the function generate_protocol2() is run.
A new folder of the format ‘yyyy_MM_dd_HH_mm’ is made within the the folder C:\matlabroot\G4_Protocols\nested_RF_protocol2\data that contains both the patterns, functions and experiment file currentExp.mat and the data that was recorded in the Log file.
Stimulus parameters:
The following parameters apply to the most recent version of Protocol 2 (T4/T5 Autumn 2025). For parameters of earlier versions, see the Version History.
| Parameter | Value |
|---|---|
| Background intensity | 4/15 |
| Stimulus area | 30 x 30 pixels (37.5 x 37.5 degrees) |
| 6px stimulus area | 33 x 33 pixels (to fit even grid with 50% overlap) |
| Flash contrast | ONE only — either ON (15/15) or OFF (0/15) |
| Number of repetitions | 3 |
| Sampling rate | 10 kHz |
Protocol design:
Protocol 2 presents stimuli in the following sequence (most recent version, T4/T5 Autumn 2025):
                ┌───────────────────────────────────────────┐
                │  A    Grey background              10s    │
                └─────────────────────┬─────────────────────┘
                                      │
                ┌───────────────────────────────────────────┐
                │  B    4px square flashes          ~118s   │  ─┐
                ├───────────────────────────────────────────┤   │
                │  C    Grey background               3s    │   │
                ├───────────────────────────────────────────┤   │
                │  D    6px square flashes            60s   │   │
                ├───────────────────────────────────────────┤   │
                │  C    Grey background               3s    │   │
                ├───────────────────────────────────────────┤   │
                │  E    Bar sweeps (28 dps)          ~53s   │   │
                ├───────────────────────────────────────────┤   │
                │  C    Grey background               3s    │   │  Repeat
                ├───────────────────────────────────────────┤   │   x3
                │  F    Bar sweeps (56 dps)          ~35s   │   │
                ├───────────────────────────────────────────┤   │
                │  C    Grey background               3s    │   │
                ├───────────────────────────────────────────┤   │
                │  G    Bar sweeps (168 dps)         ~22s   │   │
                ├───────────────────────────────────────────┤   │
                │  C    Grey background               3s    │   │
                ├───────────────────────────────────────────┤   │
                │  H    Bar flashes (slow)           ~88s   │   │
                ├───────────────────────────────────────────┤   │
                │  C    Grey background               3s    │   │
                ├───────────────────────────────────────────┤   │
                │  I    Bar flashes (fast)           ~44s   │  ─┘
                └─────────────────────┬─────────────────────┘
                                      │
                ┌───────────────────────────────────────────┐
                │  A    Grey background              10s    │
└───────────────────────────────────────────┘| Step | Stimulus | Details |
|---|---|---|
| A | Grey background | 10s. Presented at the start, between each repetition of B–I, and at the end |
| B | 4px square flashes | 196 flashes on a 14 x 14 grid with 50% overlap. 160ms flash duration, 440ms interval |
| C | Grey background | 3s between stimulus blocks |
| D | 6px square flashes | 100 flashes on a 10 x 10 grid with 50% overlap. 160ms duration, 440ms interval |
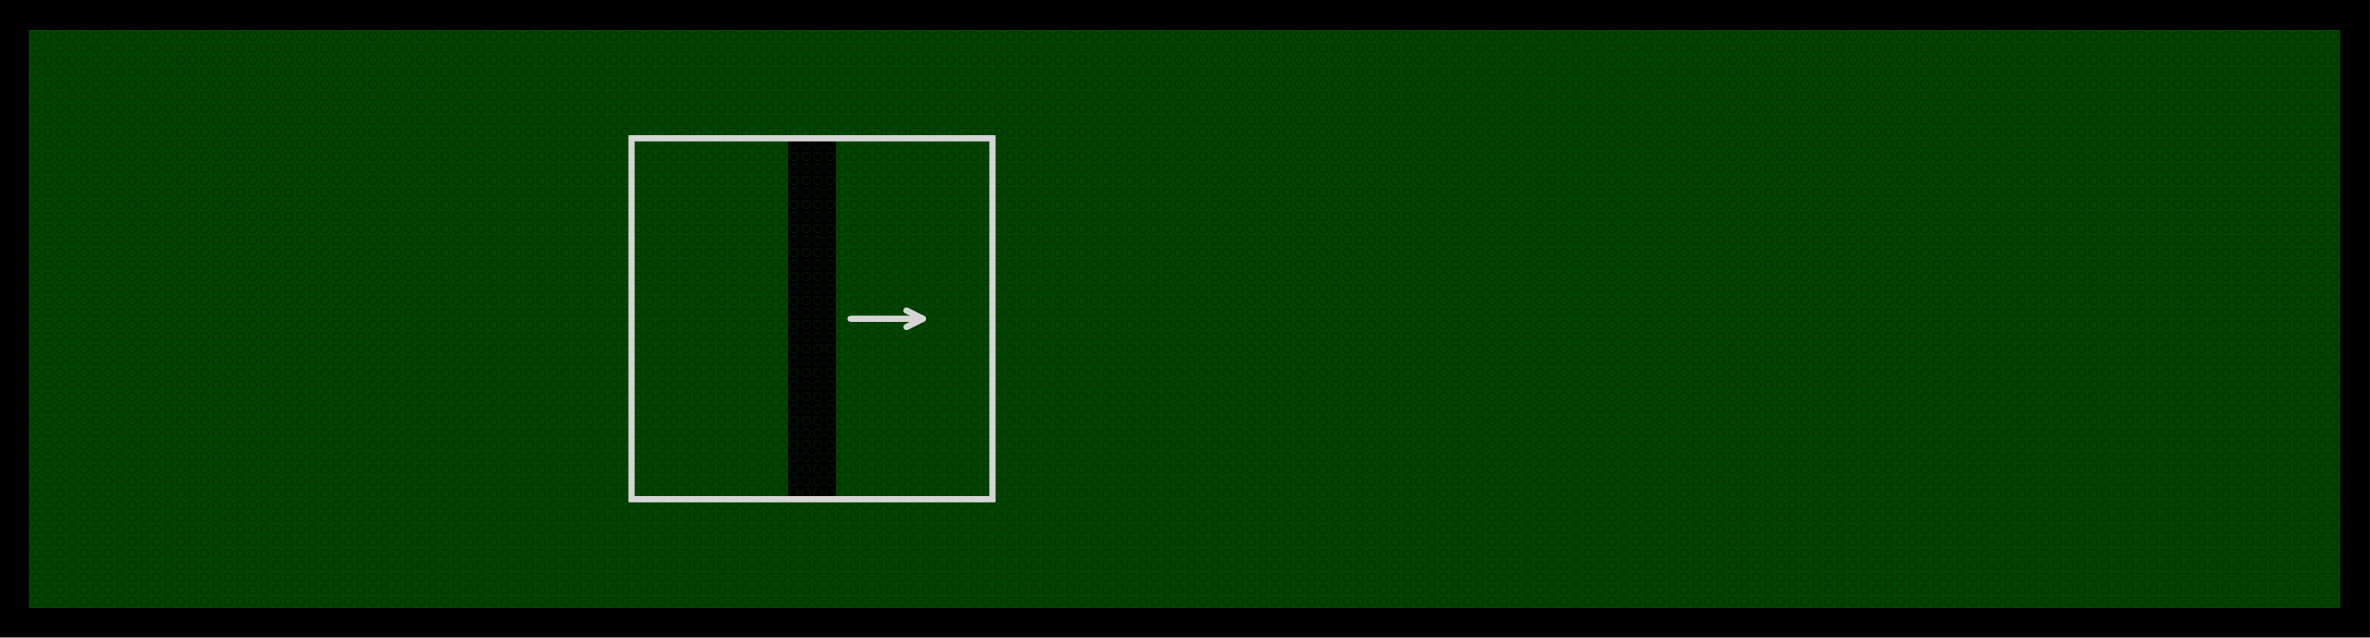
| E | Bar sweeps (28 dps) | 4px wide bars in 16 directions (8 orientations, forward and reverse). 1s static baseline per sweep |
| F | Bar sweeps (56 dps) | Same directions as E |
| G | Bar sweeps (168 dps) | Same directions as E |
| H | Bar flashes (slow) | 80ms duration, 920ms interval. 88 flashes (8 orientations x 11 positions), random order |
| I | Bar flashes (fast) | 14ms duration, 486ms interval. 88 flashes in a different random order |
The 3s grey backgrounds (C) between stimulus blocks were introduced in October 2025 to make data parsing easier.
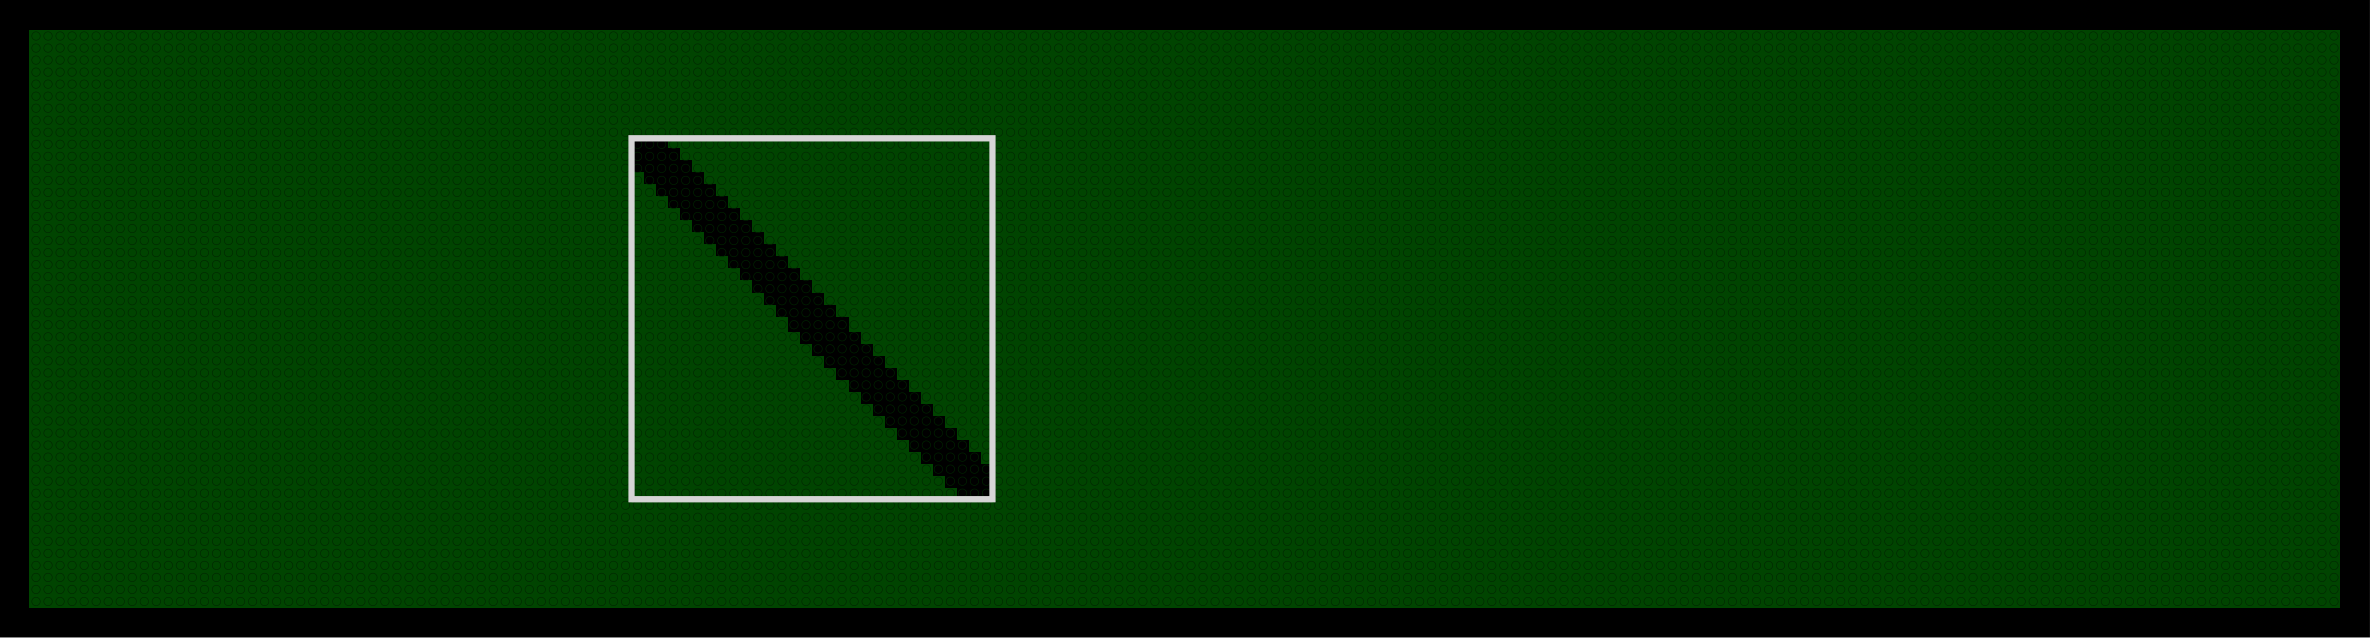
Flash presentation:
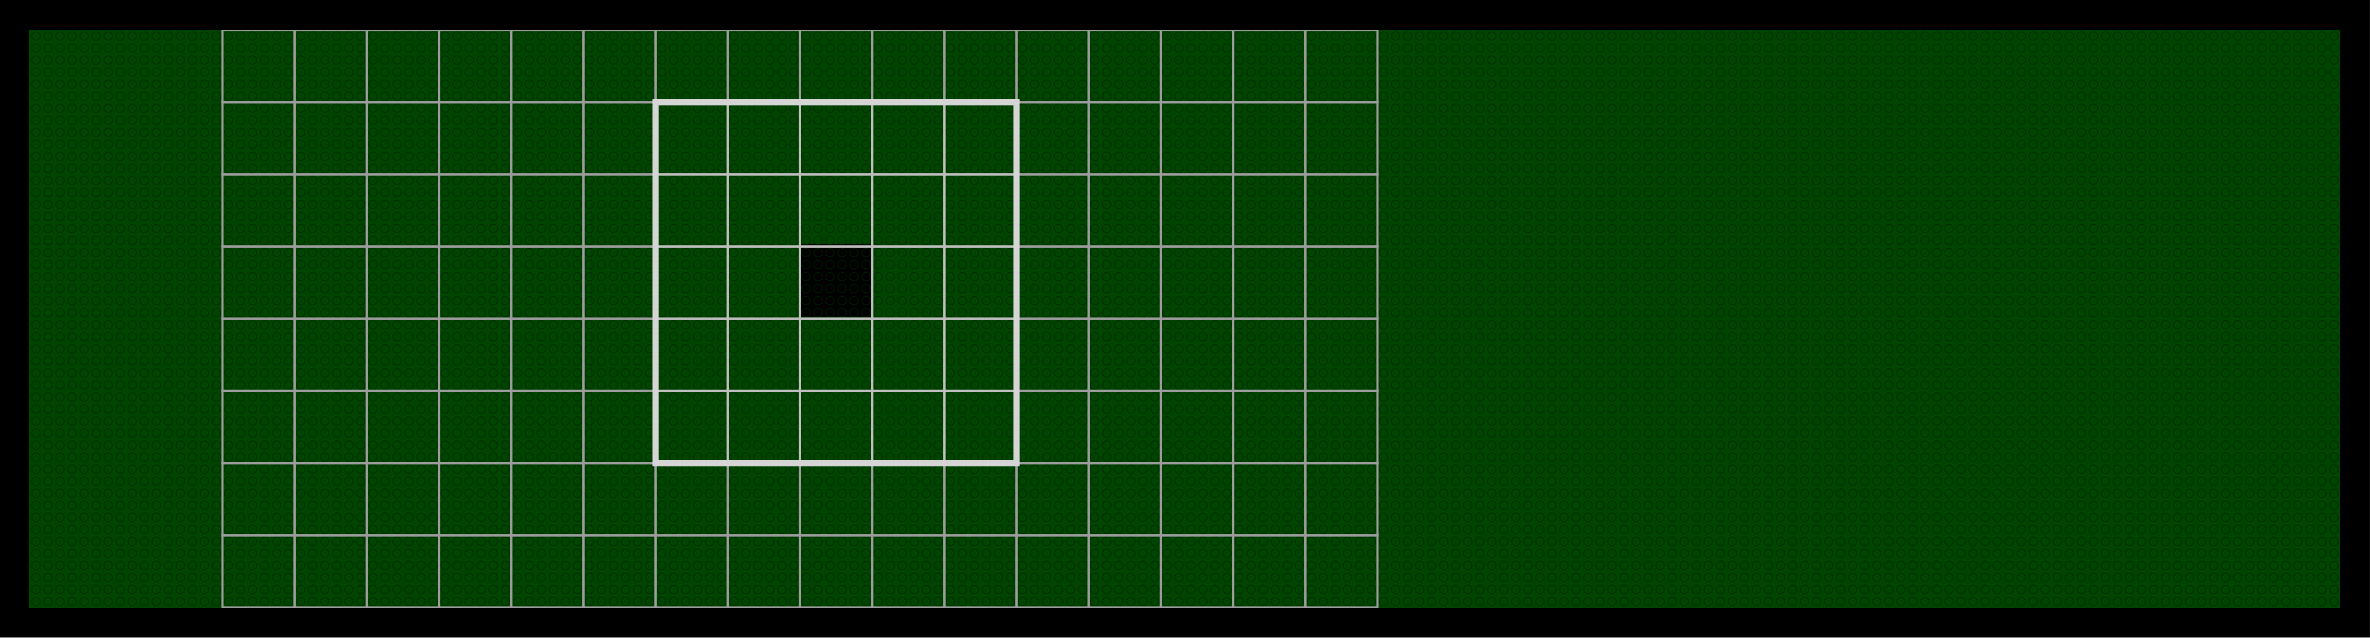
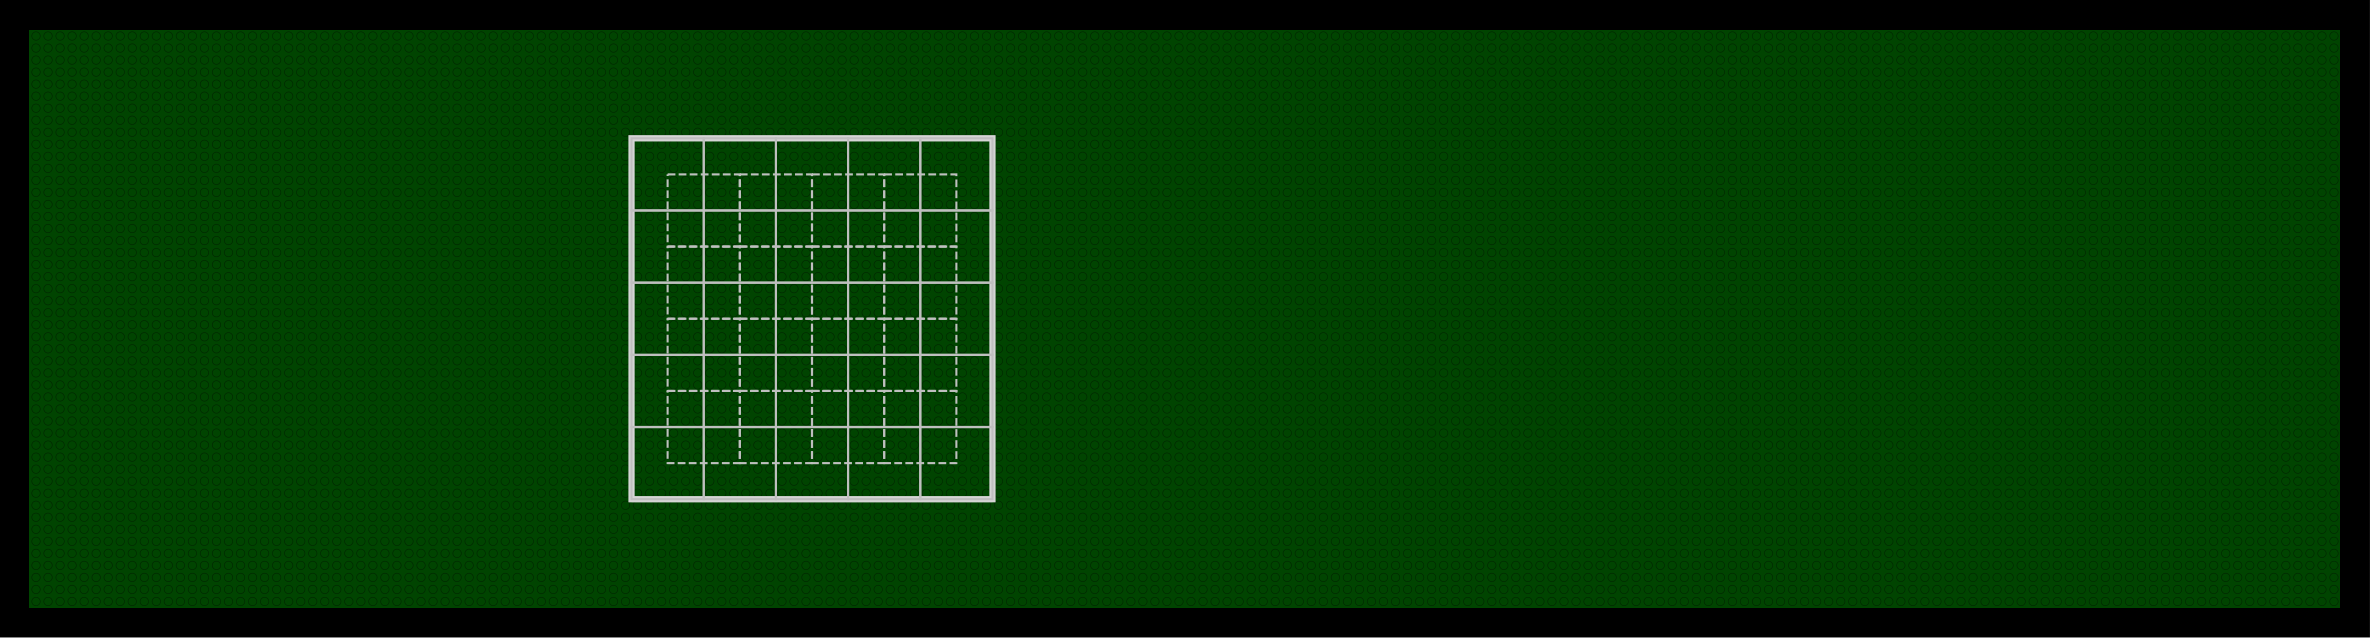
The square flash stimuli are presented on a 50% overlapping grid within the stimulus area. This means adjacent flash positions share half their area, providing higher spatial resolution than a non-overlapping grid.
- 4 pixel flashes: 196 positions (14 x 14 grid) within a 30 x 30 pixel area
- 6 pixel flashes: 100 positions (10 x 10 grid) within a 33 x 33 pixel area

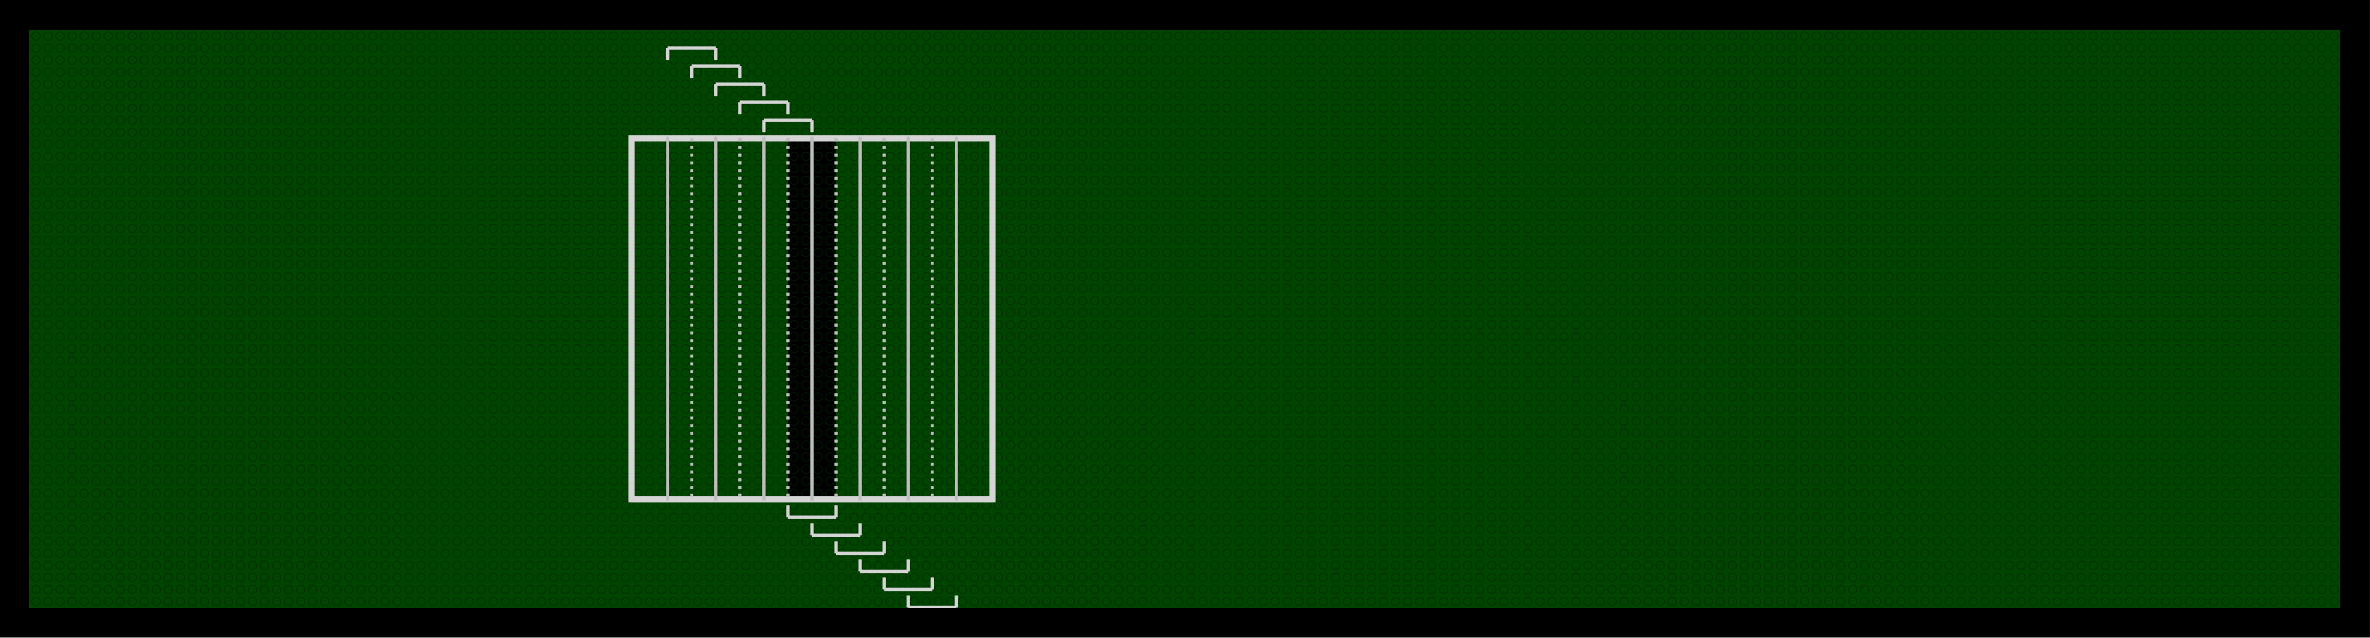
The bar flash stimuli present a stationary bar at 11 different positions per orientation. One bar is centred within the stimulus area, and 5 positions are shifted above and below the centre in 2 pixel increments along the orientation axis.